Skip to product information
1 of 11

Christmas Eve Craft Kit - Upgraded

Christmas Eve Craft Kit - Upgraded

  • Easy to make kits - no stress, just joy
  • Every piece is handcrafted to calm busy minds
  • Paint, glaze, and watch your design come to life

In stock

Regular price £27.95 GBP
Regular price Sale price £27.95 GBP
Sale Sold out
Taxes included. Shipping calculated at checkout.
Bauble Characters
Quantity
  • Free UK shipping on all orders over £50
  • Estimated delivery time: 3-5 days

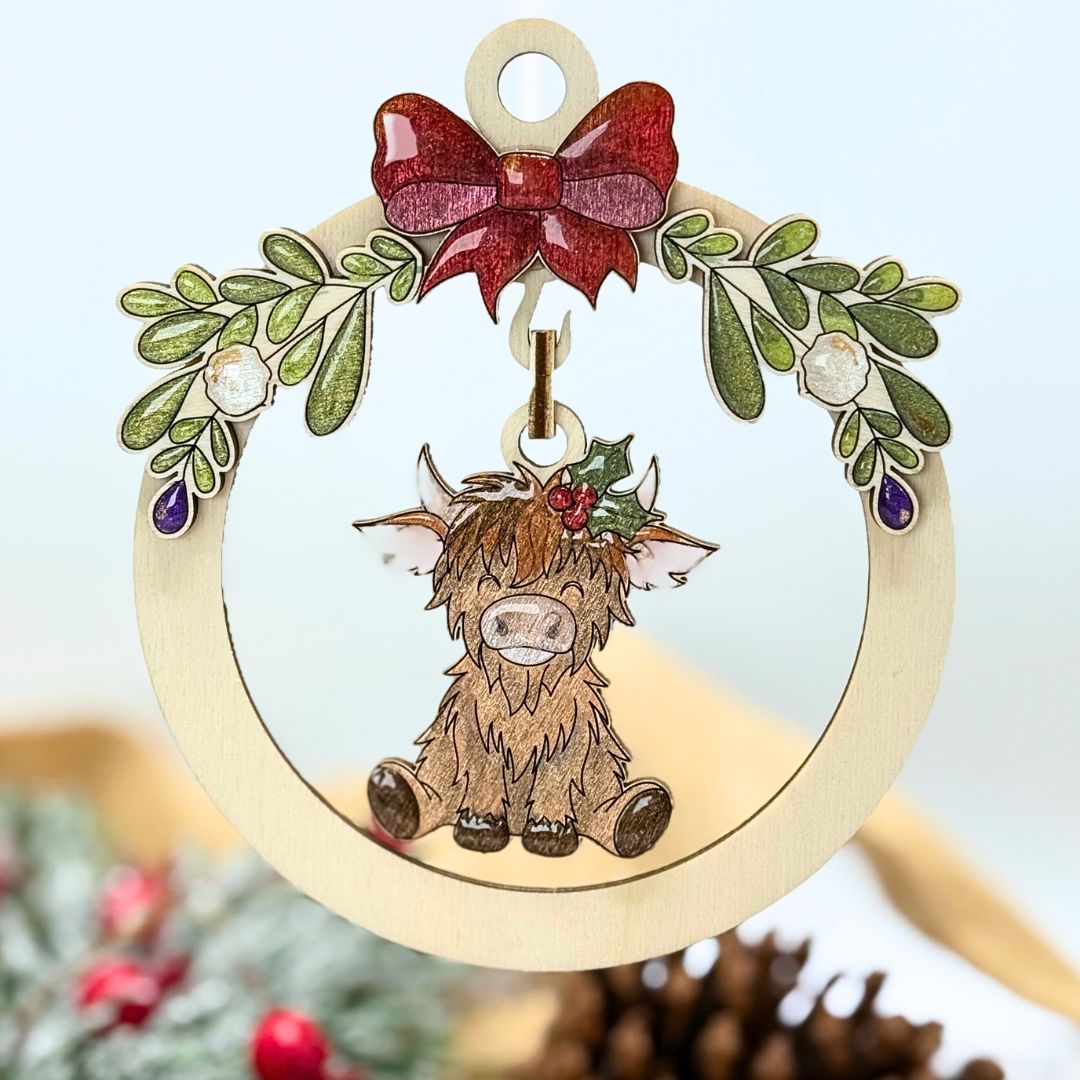
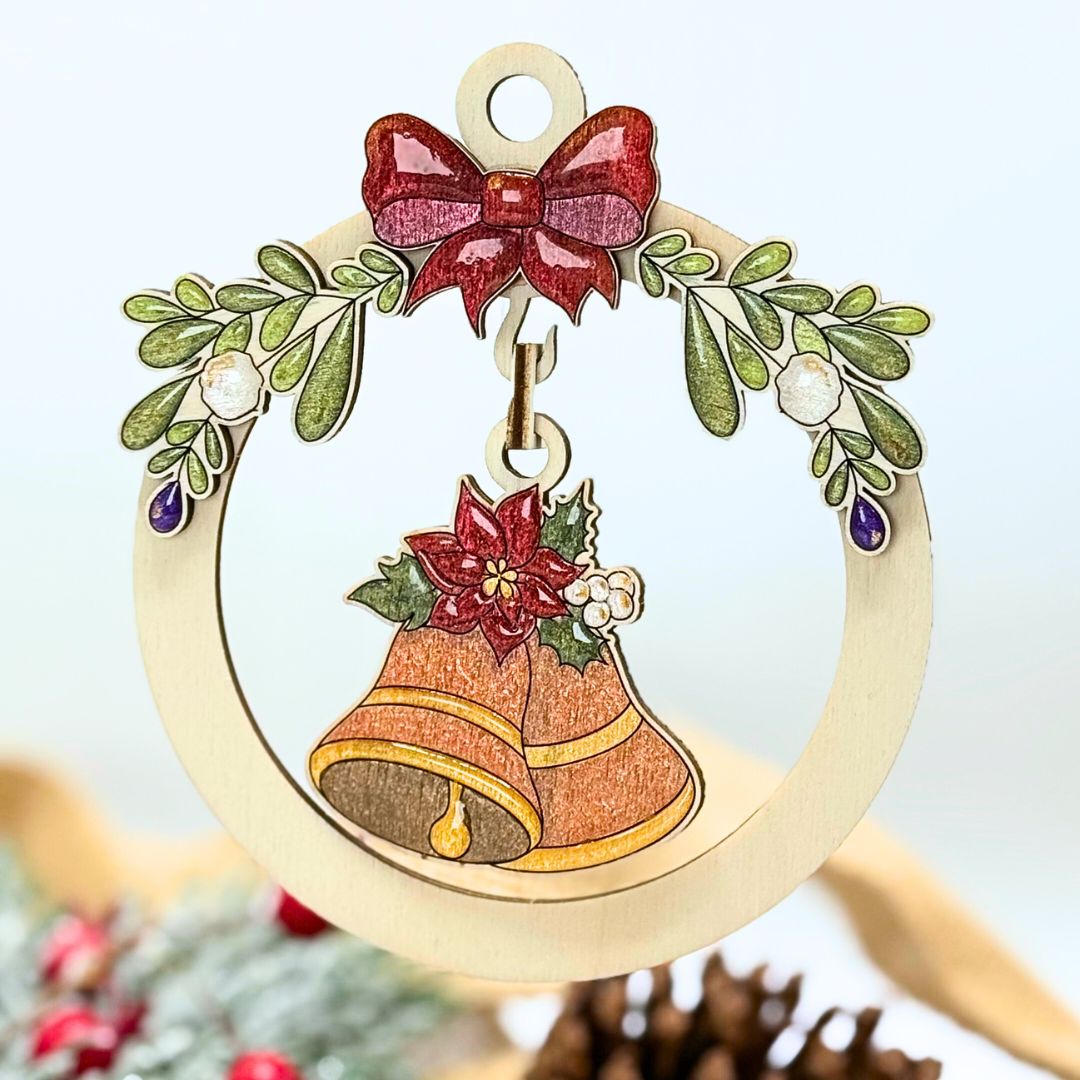
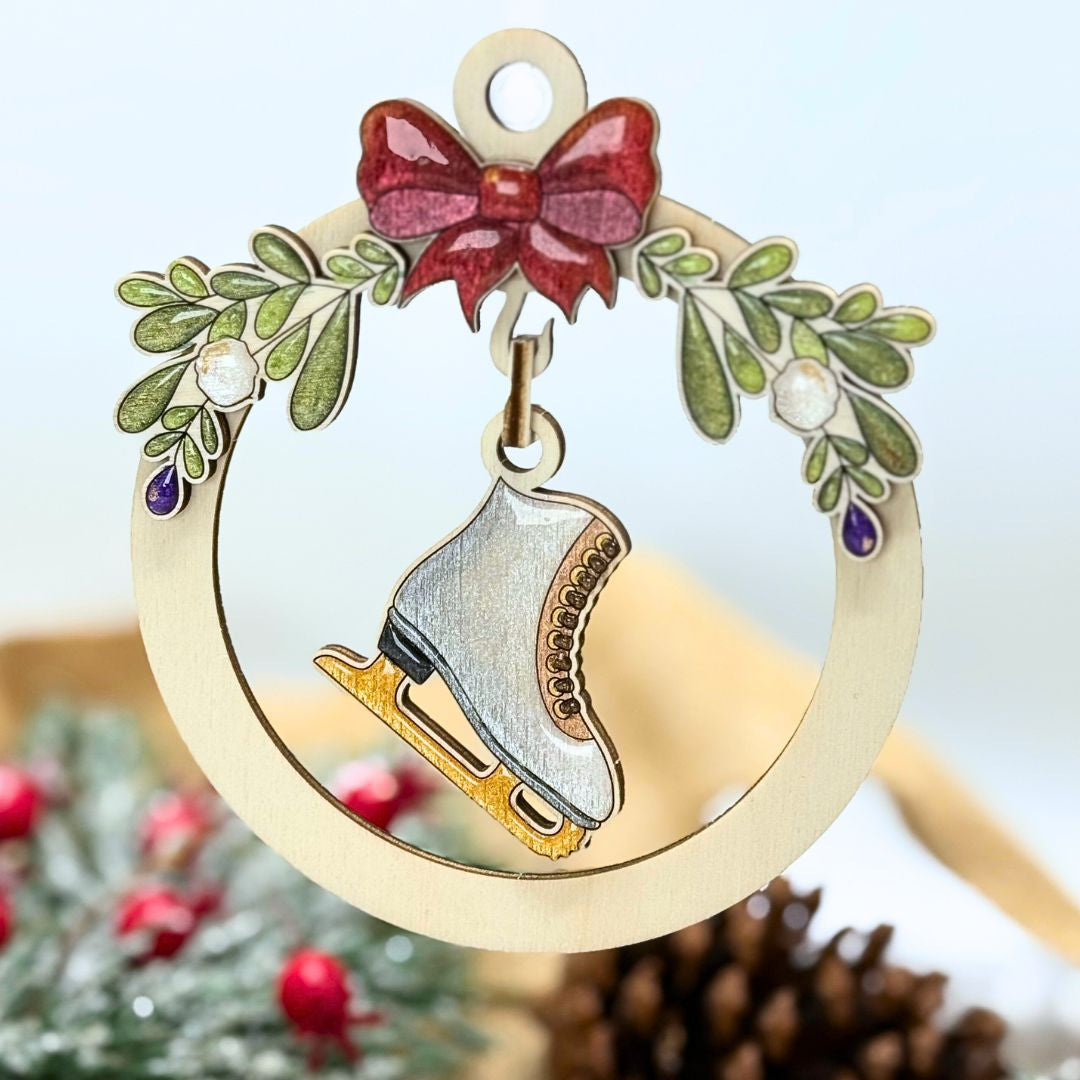
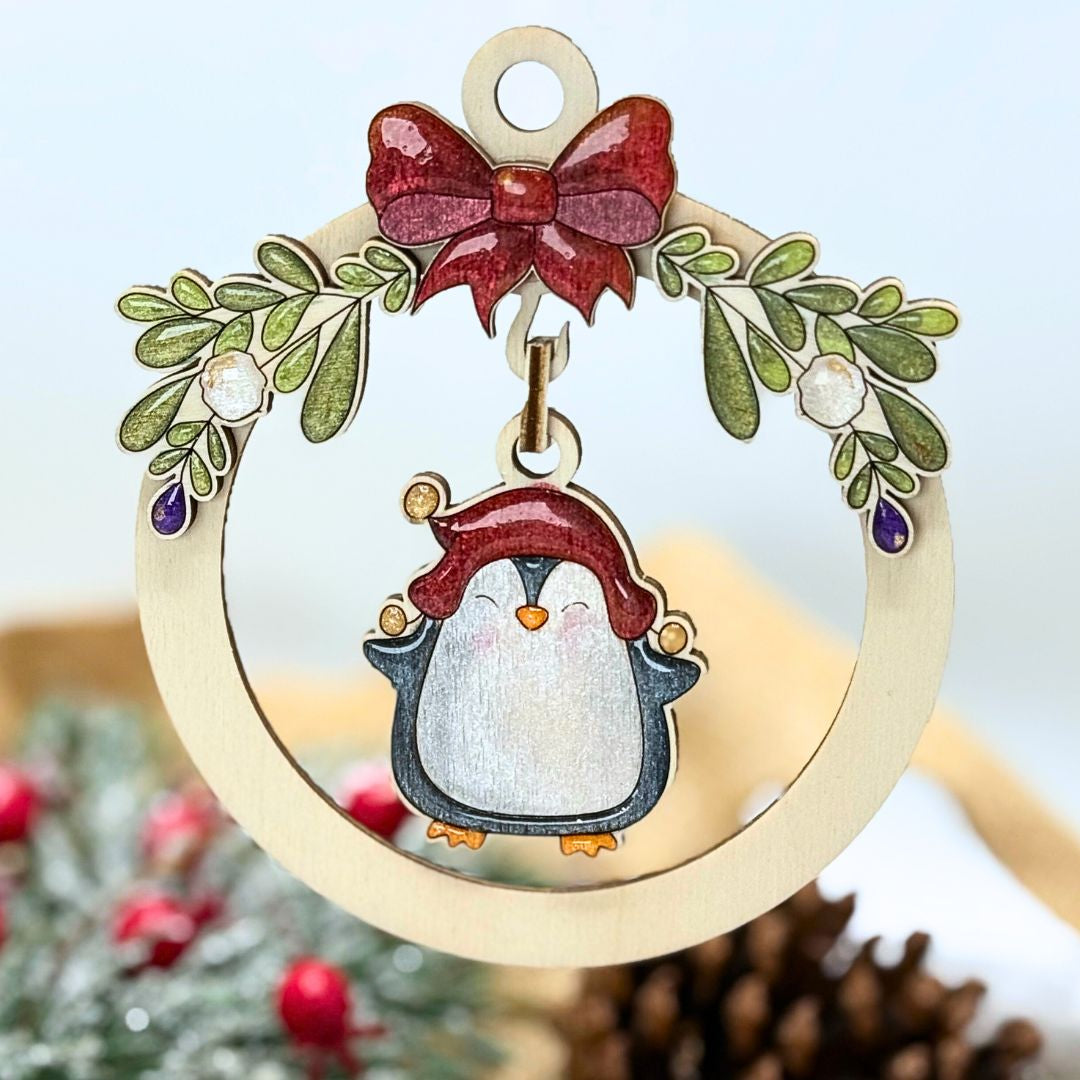
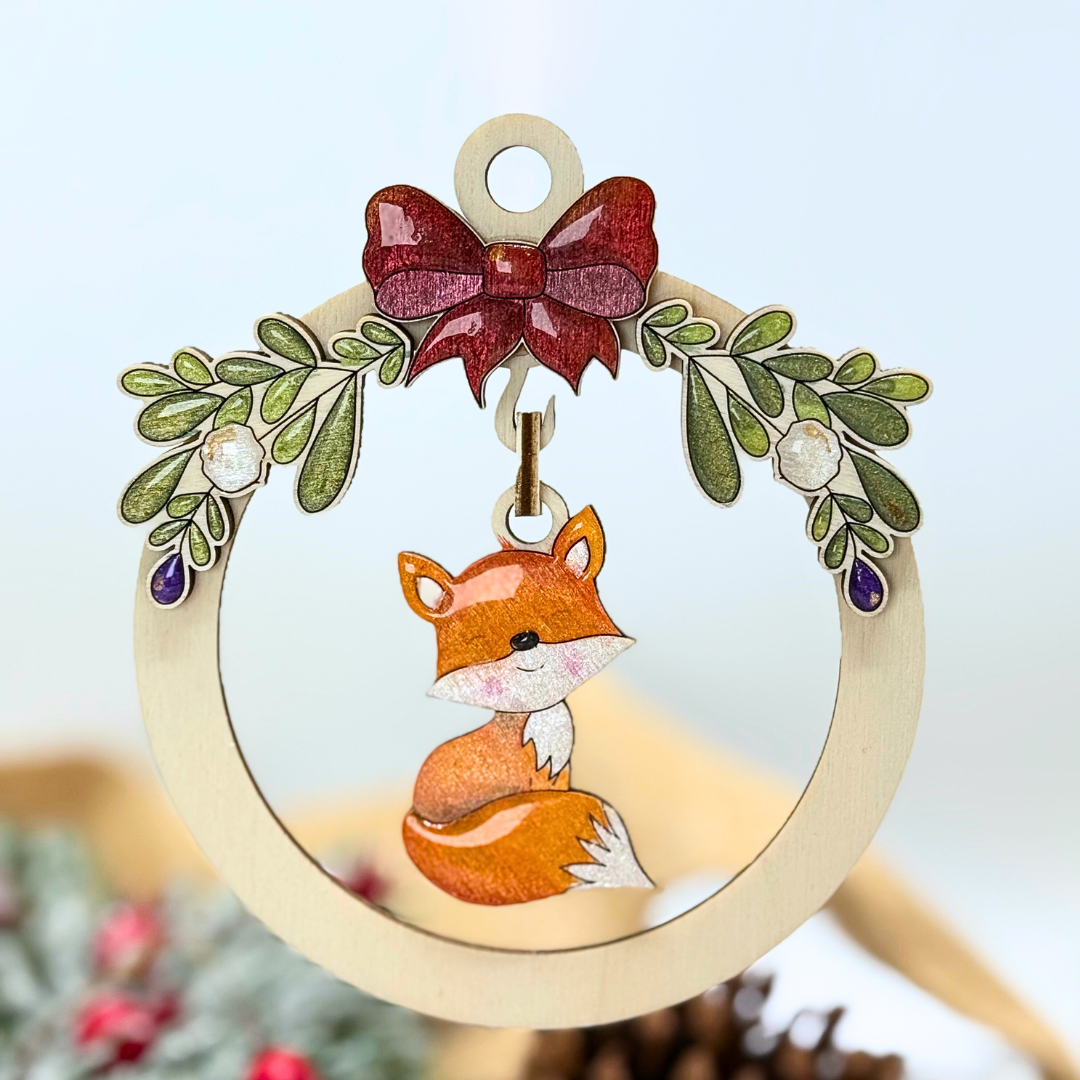
Take your Christmas Eve crafting to the next level with this deluxe version of our festive kit — perfect for anyone who loves a little extra sparkle and a magical finishing touch.


First, paint your chosen wooden bauble using our six handmade midi shimmer paints. Then elevate your design with a coat of Clear Stuff (our glossy UV glaze) to make your colours shine like Christmas lights. Finally, add the included LED light behind your bauble for a warm, cosy glow — it’s pure Christmas joy wrapped into one project.


Ideal for creating a keepsake you’ll bring out every December… and smile every time.


What’s Included:

• 1 x Wooden Christmas Character Bauble

• 6 x Handmade Midi Shimmer Watercolour Paints

• 1 x Paint Brush

• 10g Clear Stuff UV Glaze (for that glossy, standout finish)

• 1 x LED Light (to make your bauble glow!)

• Step-by-step video tutorial (link inside your kit)


A beautifully festive, ready-to-gift kit that turns a calm creative moment into a glowing Christmas keepsake.


View full details

HOW TO USE OUR PAINTS

  • Step 1: Add water

    Add a drop of water to the colours you would like to use.

  • Step 2: Swirl your brush in the colour

    Swirl your brush until you have a good coverage on your brush.

  • Step 3: Enjoy painting your design

    Paint straight onto your wood designs.

  • TOP TIPS

    Paint all your pieces before popping them out.DO NOT glaze the "C" shape (this is your hook) and the big ring

HOW TO USE OUR GLAZE

  • Step 1: Put Glaze Upside Down

    This avoids bubbles on your beautiful creation.

  • Step 2: Mini LED Light

    Plug in Mini LED Light ready for curing

  • Step 3: Add glaze 

    Add glaze straight from the bottle to your design. Use the nozzle to move the glaze.

  • Step 4: Cure your glaze

    Cure for 2 minutes under your Mini LED light.

  • TOP TIPS

    Remove any bubbles before curing.You can't over cure the glaze, only under cure it. If it's still "tacky" or soft cure for another minute.