


Make it a craft kit
Yes
(£12.50 GBP)
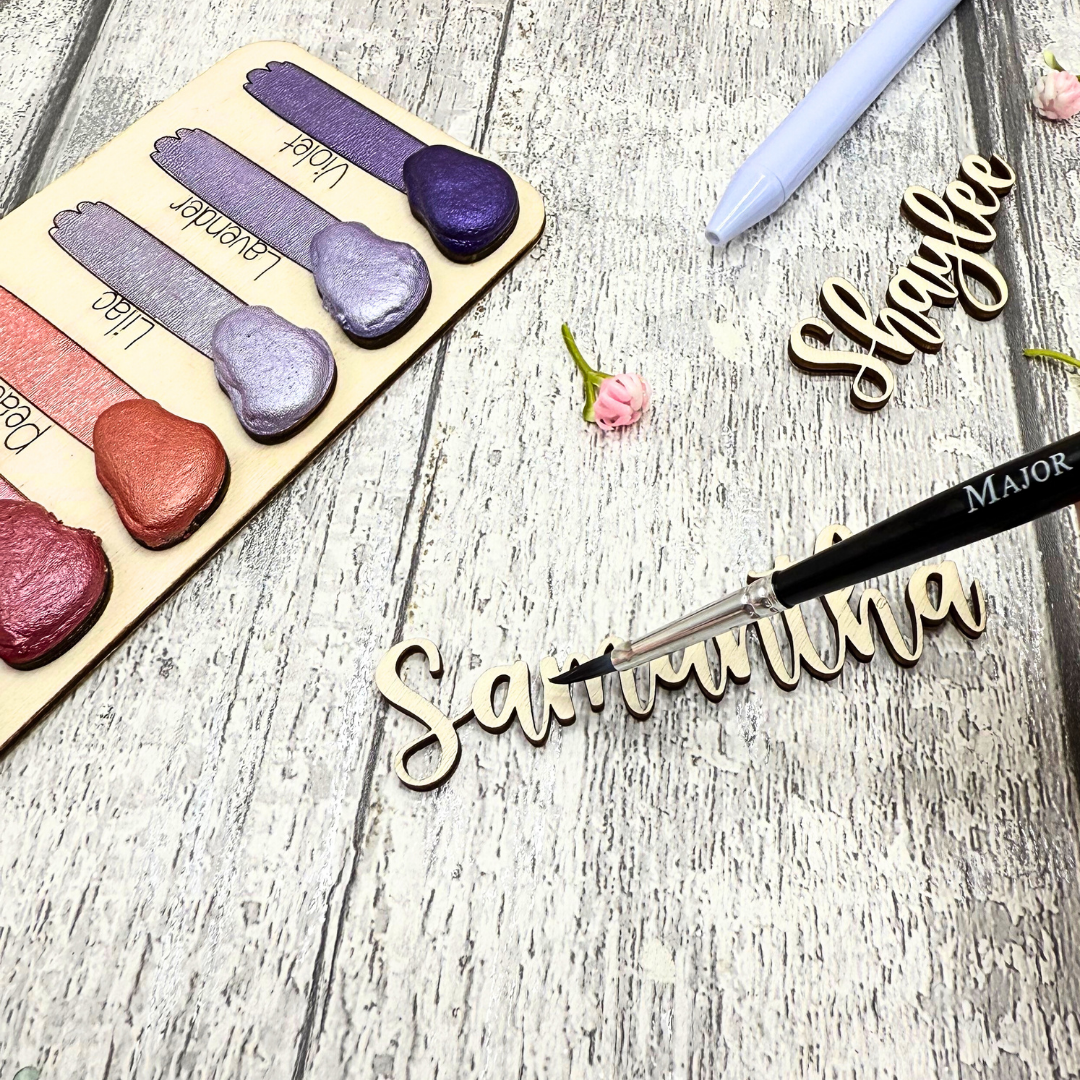
Included: 6 paints + brush (Save 25%)
Select 6 paints *
Cosmos
Blossom
Peach
Lilac
Lavender
Violet
Chinoise
Moss
Belize
Alice
Capri
Arctic
Rose Gold
Gold
Antique
Silver
Copper
Penny
White
Black
Ruby
Apricot
Rust
Buttercup
Blonde
Spring
Dahlia
Cherry

